If you are using Microsoft Teams, you may have observed that the video volume suddenly drops off when sharing the screen. This is quite annoying for both – the presenter and the attendees. I have finally found (and tested) a solution to this and thought of sharing with you all.
Root cause: Based on various forums that I visited, it seems that a change has been made to the architecture of Teams which reduces the sound of notifications & alerts while on a Teams call. This also reduces the sound of the audio being played.
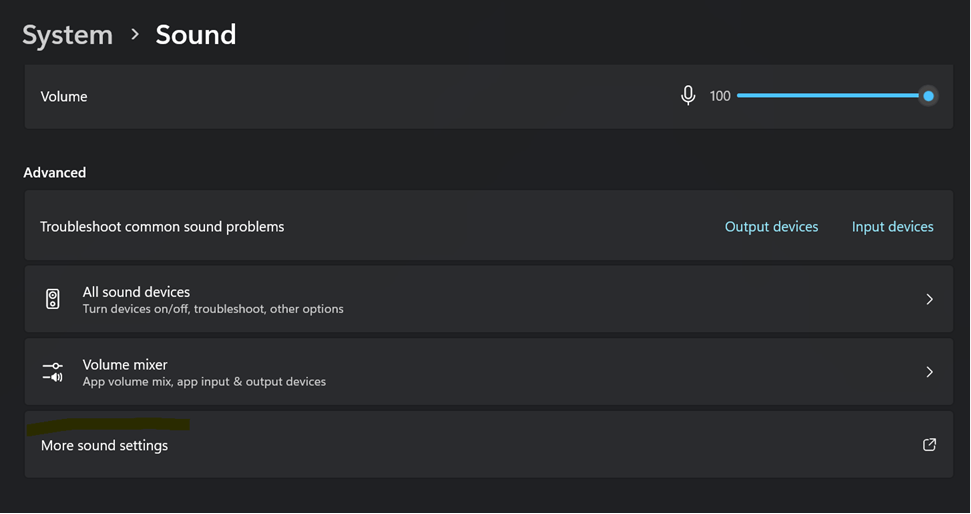
IMPORTANT: You may want to reset it back to 50% or 80% (depending upon your preference) after your presentation is over – else it becomes quite annoying when other calls are going on.
Recently, I ran into a forum post where the ask was to figure out why a perfectly valid backup was not visible when attempting to restore it via the wizard in SSMS. Today, I will reproduce the issue, explain the root cause and provide the solution for the same.
Building the scenario
In one of the my test SQL Servers, I have a copy of the [AdventureWorks2019] sample database, which I have backed up using the following simple script.
USE [master];
GO
BACKUP DATABASE [AdventureWorks2019]
 TO DISK = 'C:\Program Files\Microsoft SQL Server\MSSQL14.SQL2K17\MSSQL\Backup\AdventureWorks2019.bak'
    WITH COMPRESSION;
GO
Now, to simulate the movement of the backup to a different machine, I created a new folder under my default “Documents” folder and placed the backup there.
Screenshot showing the placement of the target folder where the backup is placed
Reproducing the symptom
Restoring via SSMS
Connect to the target SQL Server using SSMS
Right-click on the “Databases” folder in the Object Explorer
Choose to Restore a database
Under “Source”, select the radio-option for restoring from a “Device”
Use the ellipsis to open the “Select Backup Devices” window and open the File explorer by choosing “Add”
Navigate to the folder where the backup has been placed
Expected Result: We should be able to see the folder and the backup file
Actual Result: The backup file is not seen (the folder may or may not be seen)
Screenshot showing that the backup exists, but it is not seen in the “Locate Backup File” window
Restoring via T-SQL
While the UI keeps things a bit mysterious, attempting to restore via T-SQL does point us to the right direction.
USE [master];
GO
RESTORE DATABASE [AdventureWorks2019_Copy]
    FROM DISK = 'C:\Users\sqltwins\Documents\AdventureWorksBackup\AdventureWorks2019.bak';
GO
Here’s the error that we run into:
Msg 3201, Level 16, State 2, Line 3
Cannot open backup device 'C:\Users\sqltwins\Documents\AdventureWorksBackup\AdventureWorks2019.bak'. Operating system error 5(Access is denied.).
Msg 3013, Level 16, State 1, Line 3
RESTORE DATABASE is terminating abnormally.
Notice that the error clearly says – “Access is denied.“
Root Cause
As highlighted by the results of the T-SQL script, SQL Server is actually running into a security problem. The operation is done under the context of the SQL Server instance service user (i.e. the user under which the SQL Server service runs).
Because the user doesn’t have access to the folder we just created, the service cannot see the files underneath.
Solution
The solution is to use the SQL Server Configuration Manager to figure out the user under which the SQL Server service runs.
Once the user is identified, provide access to the target folder to the user and the files should now be visible – both to SSMS and to T-SQL.
Screenshot showing the backup file is now visible once the SQL Server instance service has been granted to the folder
We a colleague of mine used Database Diagrams to explain our database structure to a new team member. Now typically, we would have started to “draw” the relationships on a white board, but in a world where everyone was working remotely, this was the only option.
The Visual Aspect
I am sure almost everyone in the audience has also used database diagrams at some point as a means of database documentation before switching to methods (like Extended Properties) more suited to modern database development and deployment techniques.
Unfortunately, these techniques do not have the ability to demonstrate the relationships visually. Database diagrams provide this unique ability and hence, warrant a rethink in terms of usage.
Now, the goal of this post is not to show “how” to build a database diagram, but to:
Demonstrate effective ways of providing as much detail as possible on the diagram
Show how to export the diagram for offline reference
Increasing the level of detail in a Database Diagram
For effective database diagraming, the recommendation is to group the tables/information shown on the diagram by one of the following two (2) strategies:
By schema: If you use database schemas, group objects by schema and have at least one database diagram per schema
By Use-case: Alternatively, tables that are related from a domain perspective (or for a particular use-case, e.g. Authentication) can be selected and be the subject of a diagram
Once you have put all the required tables on the diagram, you may want to right-click on the canvas and choose “Show Relationship Labels”. Additional annotations may also be applied as necessary by using the “New Text Annotation” functionality.
Image showing how to enable visibility of Relationship labels on a database diagram
By default, the database diagram will only show the table name and list of columns. For maximum details, you can right-click on the table name -> select “Table View” -> select “Standard”.
Screenshot showing how to select the “Standard” table view, which increases the level of detail on the diagram
As you will notice, using the “Standard” table view will add more details (like datatype and null-ability of columns) on the diagram. The columns can be added/removed by using the “Modify Column” option of the same menu.
Column selector for the “Standard” view“Standard” view of database tables on a diagram.
This process will need to be done for all tables. Once done, arrange the diagram on the canvas manually.
Exporting the Database Diagram
Once a database diagram is prepared, it can be saved in the database. However, there is no way to export or save a diagram into a file that can be sent via E-mail or stored on a collaboration tool for offline viewing. There is however, a very simple way by which the ultimate goal can be achieved – by storing it as an image!
Now, I am now talking about taking multiple screenshots and stitching them together in an image editing app. It is very simple to copy the diagram as an image.
Simply right-click on the canvas and choose “Copy Diagram to Clipboard”
Image showing how to copy the diagram to clipboard.
Once the diagram is on the clipboard, it can be pasted as an image to any image editing application or document!
As part of my normal development activities, I use my trusted developer instance on my local machine. However, one of the main things I realized was that while I could connect to the instance using SQL Server Management Studio (SSMS), I could not connect to my instance via some of my SSIS packages.
I realized shortly afterwards that this was because the instance only has “Shared Memory” enabled as the protocol for connections by default. I turned on TCP/IP as well and was able to complete my work. However, I thought it best to document the steps I took for future reference.
What is my current connection using – Shared Memory or TCP/IP?
Before we go any further, let us investigate the default connection mechanism used by client applications running on the same machine as the SQL Server instance.
To do this, I have opened connections to the SQL Server via both – SSMS and SQLCmd and am then querying the DMV (sys.dm_exec_connections) to investigate the protocol being used for the connection. Session Ids used by each connection have been highlighted in the image below.
A connection to my local SQL Server instance via SQL Server Management StudioAnother connection using SQLCMD to the same SQL Server instance
Now, because my connections are active, I can take their session Ids and query the DMV – sys.dm_exec_connections which will give me the physical transport protocol that is used by this connection.
As can be clearly seen, the physical transport protocol used when connecting to a SQL Server on the same machine is “Shared Memory” by default.
If I explicitly try to connect to the instance using TCP/IP, note that I get an error #26 (Error Locating Server/Instance Specified):
Error 26 (Error Locating Server/Instance Specified) when connecting to the SQL server using TCP/IP network protocol in the SSMS “Connection Properties” window
In the Configuration Manager, when we navigate to the SQL Server Network Configuration -> Protocols for <SQL Server Instance>, we notice that TCP/IP and Named Pipes are disabled – only the Shared Memory protocol is enabled.
Notice that by default, only the “Shared Memory” physical transport protocol is enabled
Now, all that needs to be done is to enable TCP/IP from the Protocol properties (right-click -> Enable or simply double-click to open the properties window) and restart the SQL Server service.
TCP/IP connections are now enabled.
Specifying Transport Protocol when connecting to the database
Now that I have reconfigured the SQL Server instance, I can now specify the protocol when connecting to a SQL server:
In SSMS, when connecting to a SQL Server, click on “Options”
Under “Connection Properties”, choose “TCP/IP” as the connection protocol
Accessing the “Connection Properties” screen when connecting to an instance using the Management Studio
Choosing the Network Protocol as “TCP/IP”
When I use the DMV (sys.dm_exec_connections) to check the session, I can see that it is now using TCP/IP and not Shared Memory.
Connections to the SQL Server are now using TCP/IP as the physical network protocol
How to disable Shared Memory?
One of the questions that we started with was how to disable “Shared Memory” for connections?
This can be achieved in the same way as we enabled TCP/IP. Simply use the SQL Server Configuration Manager to disable the “Shared Memory” protocol.
Disabling the Shared Memory protocol
I hope you will find this post helpful.
Disclaimer: Please DO NOT try this on your production SQL Server instances.
With more and more data being exchanged over APIs, generating comma-separated strings are becoming a much more common requirement.
A few years ago, I wrote about two different ways to generate comma-separated strings. The most common one I find to be in use when generating comma-separated values from a table is the intermediate conversion of XML. This however, is a very costly mechanism and can potentially take minutes for the query to run depending upon the amount of data involved.
SQL Server 2017 brings a new aggregate function that can be used to generate comma-separated values extremely fast. The function is STRING_AGG().
Here’s a sample of it’s usage:
 --WARNING: THIS SCRIPT IS PROVIDED AS-IS AND WITHOUT
 --         WARRANTY.
 --         FOR DEMONSTRATION PURPOSES ONLY
 --Step 01: Generate Temp table to store source data
 DECLARE @NamesTable TABLE ([Id]   INT,
                            [Name] NVARCHAR(50)
                           );
 --Step 02: Generate test data
 INSERT INTO @NamesTable
 VALUES (1, 'A'),
        (2, 'D'),
        (2, 'C'),
        (3, 'E'),
        (3, 'H'),
        (3, 'G');
 --Step 03: Using STRING_AGG to generate comma-separated strings
 SELECT STRING_AGG(tbl.Name, ',') AS [CommaSeparatedString]
 FROM @NamesTable AS tbl;
 GO
 /RESULTS**
 CommaSeparatedString
 A,D,C,E,H,G
 */
Advantages of STRING_AGG:
Can be used just like any other aggregate function in a query
Can work with any user supplied separator – doesn’t necessarily have to be a comma
No manual step required – Separators are not added at the end of the concatenated string
STRING_AGG() is significantly faster than using XML based methods
Can be used with any compatibility level as long as the version is SQL Server 2017 (or higher) and Azure SQL database
Here’s an example of how STRING_AGG can be used with any separator:
 --WARNING: THIS SCRIPT IS PROVIDED AS-IS AND WITHOUT
 --         WARRANTY.
 --         FOR DEMONSTRATION PURPOSES ONLY
 --Step 01: Generate Temp table to store source data
 DECLARE @NamesTable TABLE ([Id]   INT,
                            [Name] NVARCHAR(50)
                           );
 --Step 02: Generate test data
 INSERT INTO @NamesTable
 VALUES (1, 'A'),
        (2, 'D'),
        (2, 'C'),
        (3, 'E'),
        (3, 'H'),
        (3, 'G');
 --Step 03: Using STRING_AGG to generate comma-separated strings
 SELECT STRING_AGG(tbl.Name, '-*-') AS [CustomSeparatorString]
 FROM @NamesTable AS tbl;
 GO
 /RESULTS**
 CustomSeparatorString
 A--D--C--E--H--G /
A minor challenge
As with every new feature, there may be a small usability challenge with STRING_AGG. One cannot use keywords like DISTINCT to ensure that only distinct values are used for generating the comma-separated string. There is however a Azure feedback item open where you can exercise your vote if you feel this feature is useful.
Further Reading
Different ways to generate a comma-separated string from a table [Blog Link]