Developing SSIS packages is quite easy – it’s mostly drag and drop and some minor configuration. Choosing the right transformations and components and making them work optimally is a task that is heavily dependent upon the use case at hand.
Normally, when working with relational data sources, I am averse to using the SORT transformation within a data flow, because it is a blocking transformation. Blocking transformations not only consume client memory, they also act as roadblocks in what should be an uninterrupted data pipeline. The performance tip (!) therefore is to prefer that sorting, if required, is done as part of the data source query itself so that the data pipeline gets presorted data.
However, presorting of data may not be possible in all cases. For example, if you are receiving data from a web-service, XML data source or any other 3rd party custom component. A SORT transformation becomes essential in such scenarios, but one of the areas where I have seen most people stumble upon is that a custom query is later used to remove unnecessary records from the set. The custom query is not required in most cases, and I will be demonstrating how to use configure the SORT transformation to also perform a DISTINCT.
Demo
Assume that:
- You just need a list of unique patrons who visited a local library this year in order of their registration Id for sending out some promotional mails
- The promotions need to be sent irrespective of the visit date and number of visits within the year
- The input (log of library visits) is coming from a web-service of some sort over which you as an integration team member have no control over
- Following is a sample of the test data that comes over from the web-service
NOTE: For the purposes of this demo, I will use a T-SQL SELECT to generate my test data, but I would request the reader to assume that the data is coming from a non-relational source.
SELECT LibraryVisitLog.PatronId,
       LibraryVisitLog.PatronName,
       LibraryVisitLog.VisitDate
FROM (VALUES (1201,'John Doe',  '2017-01-05'),
             (1180,'John Smith','2017-01-05'),
             (1201,'John Doe',  '2017-01-06'),
             (1201,'John Doe',  '2017-01-07'),
             (1201,'John Doe',  '2017-01-08'),
             (1201,'John Doe',  '2017-01-09'),
             (1201,'John Doe',  '2017-01-10'),
             (1280,'Jane Doe',  '2017-01-10'),
             (1201,'John Doe',  '2017-01-11'),
             (1201,'John Doe',  '2017-01-12'),
             (1210,'Jack Smith','2017-01-12'),
             (1201,'John Doe',  '2017-01-13'),
             (1201,'John Doe',  '2017-01-14'),
             (1180,'John Smith','2017-01-14')
     ) AS LibraryVisitLog (PatronId, PatronName, VisitDate)
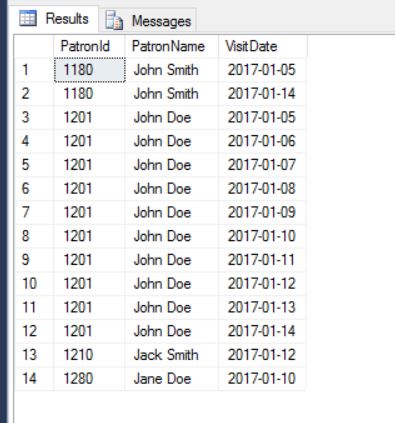
Sample Test Data
We only want the information about the following 4 (four) unique patrons ordered by their Id down the pipeline.
| Patron Id |
Patron Name |
| 1180 |
John Smith |
| 1201 |
John Doe |
| 1210 |
Jack Smith |
| 1280 |
Jane Doe |
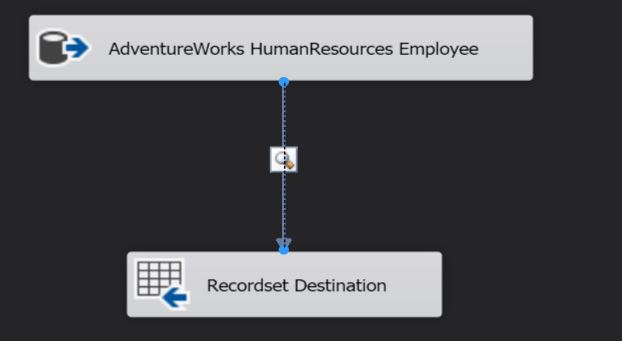
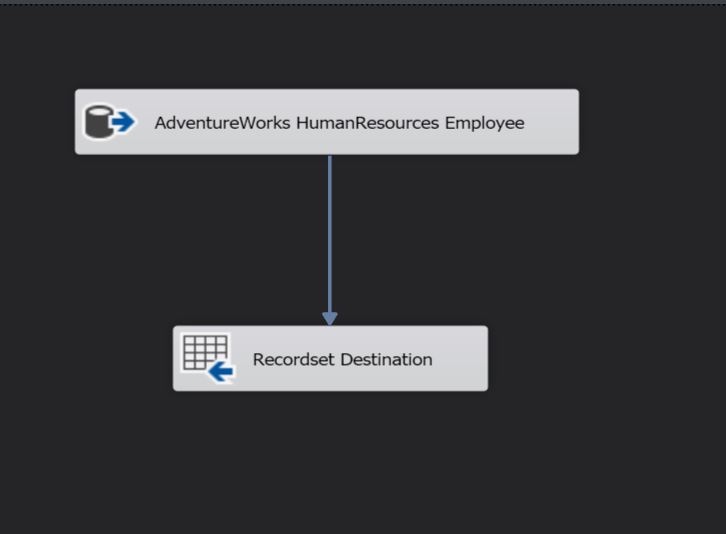
Configuring the SSIS package to achieve this is quite simple. As shown in the image below, I have a SORT transformation between my data source and target.

Overview of the demo SSIS package
The SORT transformation is configured to:
- Ignore the VisitDate (as established in the requirements above)
- SORT based on the PatronId
- Pass the PatronName through the pipleline
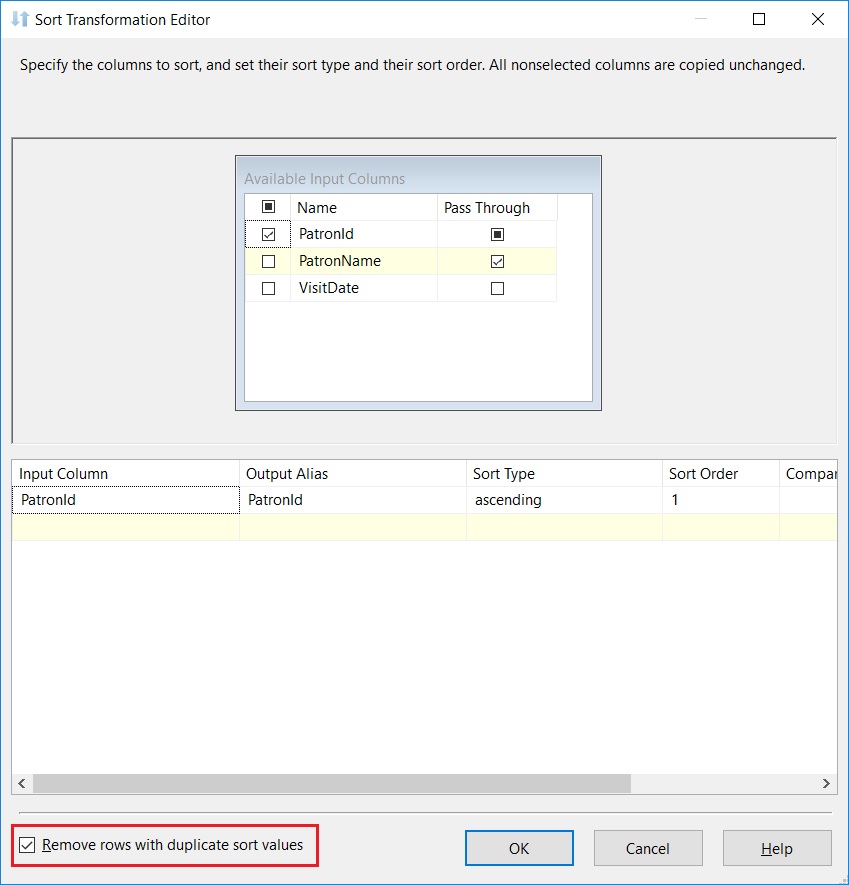
Configuring the SORT operator to perform a DISTINCT on the output rows
In addition, notice that I have checked the checkbox “Remove rows with duplicate sort values” in the bottom left corner. This switch controls whether the transformation copies duplicate rows on the transformation output or creates a single, unique entry for all duplicates.
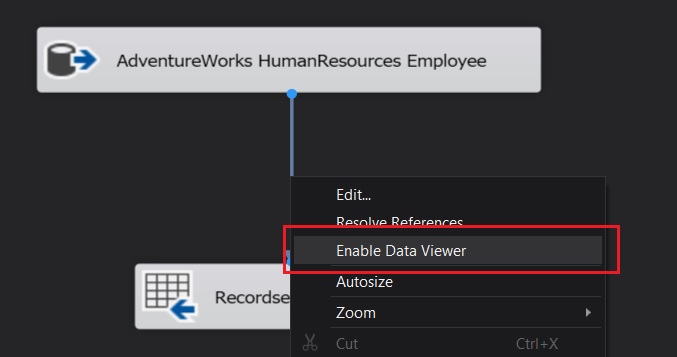
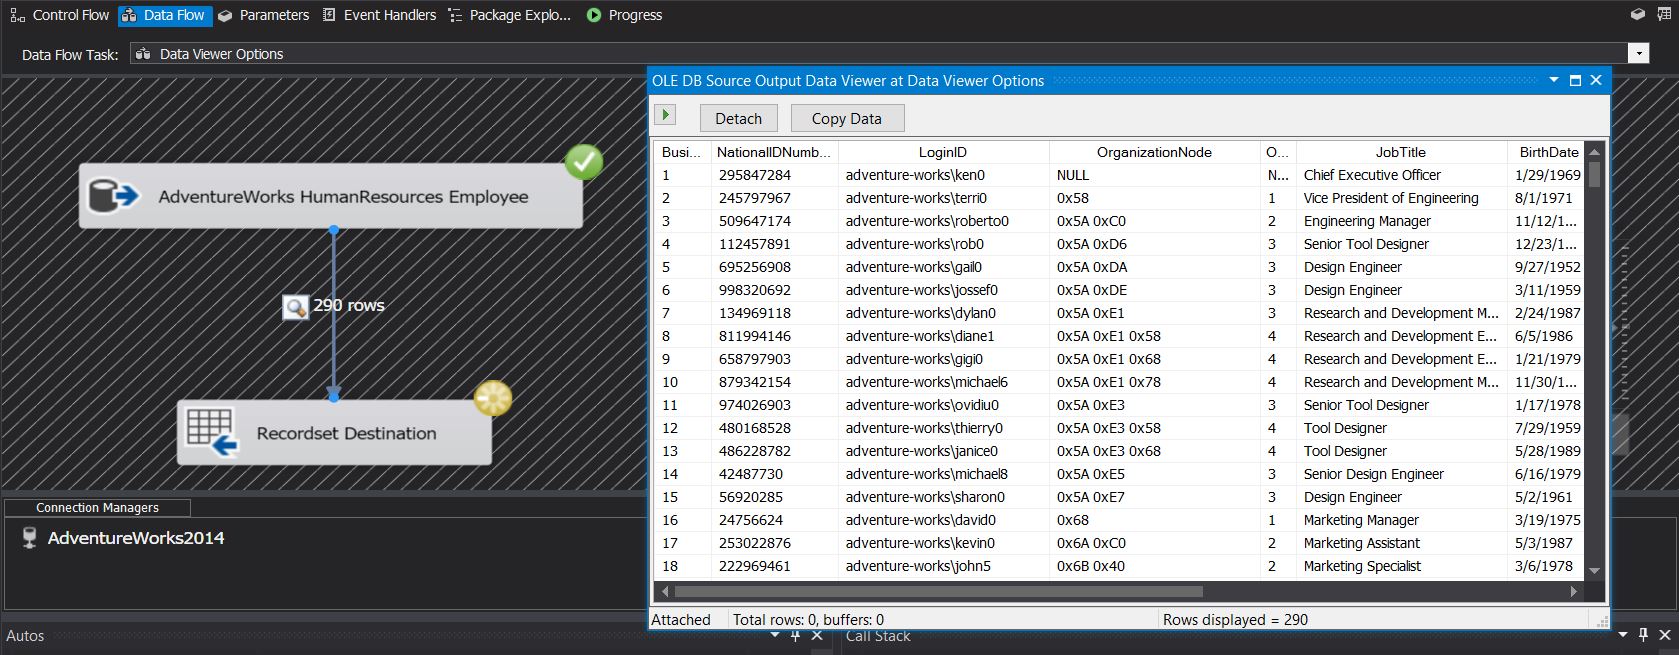
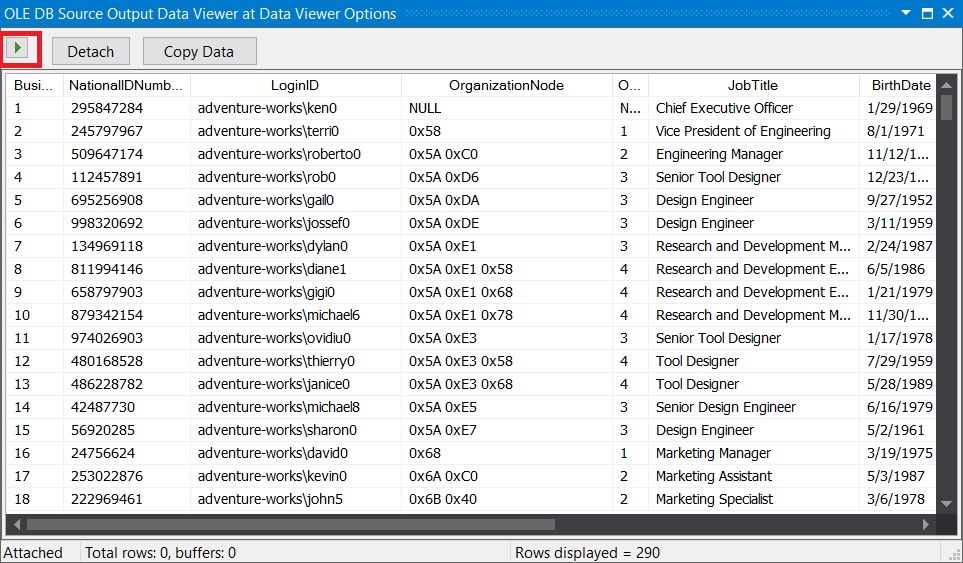
To actually see the data flowing through the pipeline, I have enabled DataViewers on each stage of the data flow. You can see the actual data flowing through the pipeline in the screenshots provided below:
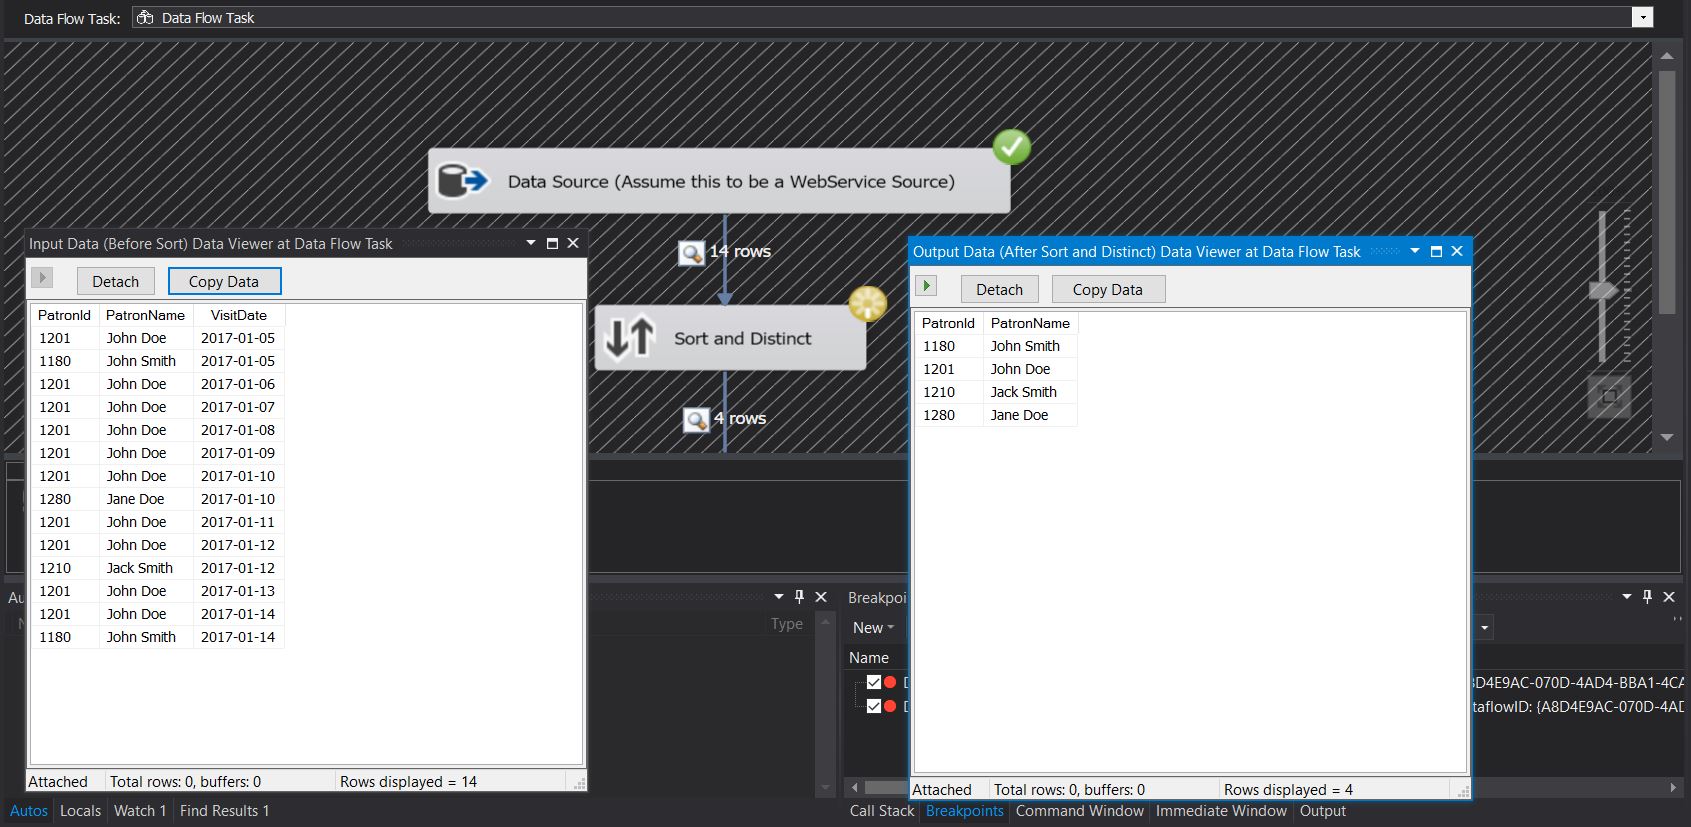
Demonstrating the ability of a SORT transformation to perform a DISTINCT on the data
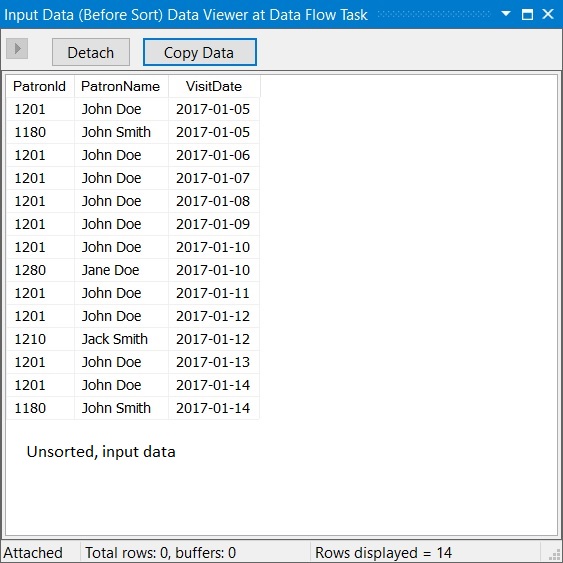
Data Viewer showing input data
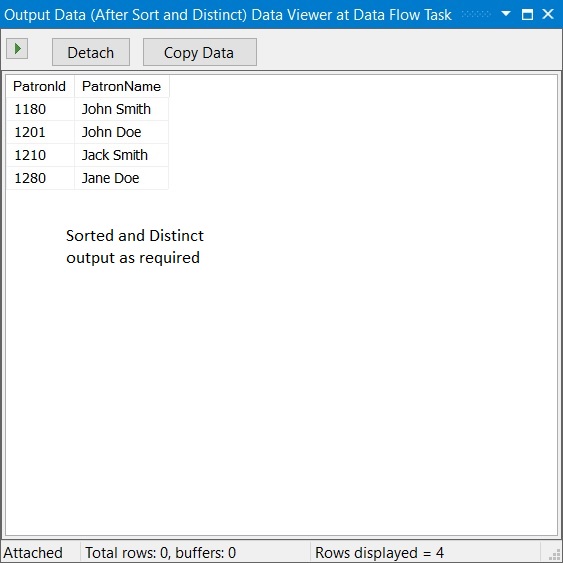
Data Viewer showing sorted and Distinct data
Summary
With respect to the SORT operator and achieving a balance between the performance and limitations of the data sources used by an SSIS package:
- It is a best practice to pre-sort the data at the data source before sending it across a data flow pipeline
- In case pre-sorting is not possible, but sorting is required, one can use the SORT transformation
- Leverage the SORT transform to filter out unique records from the sorted output – custom logic is not required to do so
Further Reading
Until we meet next time,
Be courteous. Drive responsibly.