SSIS packages are quite easy to get started with – it’s mostly drag and drop of various containers, tasks and setting of connections. Ensuring that the components work optimally requires using the right mix of tasks based on the scenario at hand.
Often SSIS packages connect to remote data sources & destinations. However, there are cases where the destination is a Microsoft SQL Server and it is required to run the package on the same server where the instance is hosted and we do not need granular grouping. Such situations may include data import into a staging area during migrations or as part of an ETL.
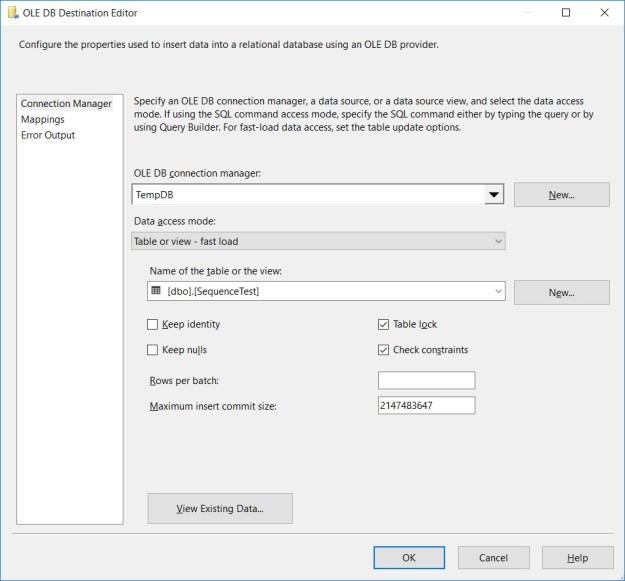
In such situations, the SQL Server destination may prove to be a better option as compared to the OLE DB destination.
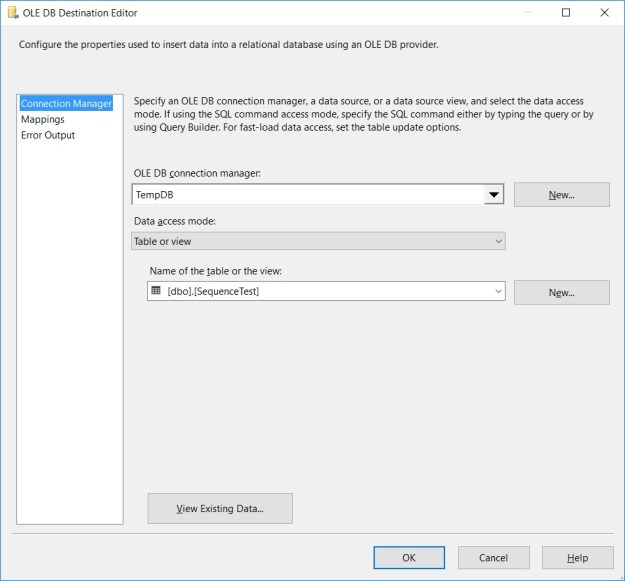
Generally, we would have a data pipeline with an OLE DB destination on the receiving end. The setup for using SQL Server destination is extremely simple – the only change is replacing OLE DB destination with the SQL Server destination. The SQL Server destination performs Bulk Inserts into the destination SQL Server while leveraging shared memory connections to SQL Server over the existing OLE DB connection manager.
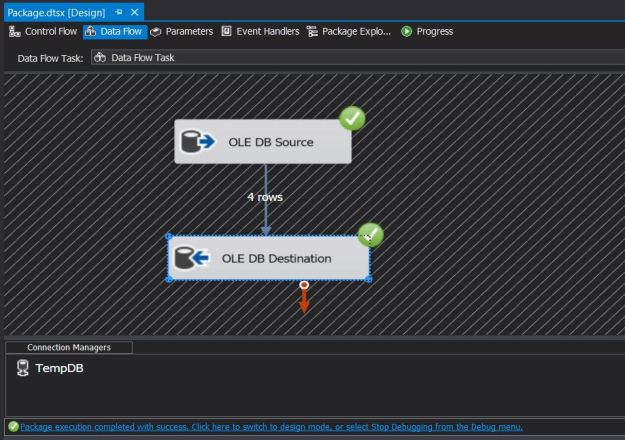
The screenshots below indicate the simplicity of using the SQL Server destination.
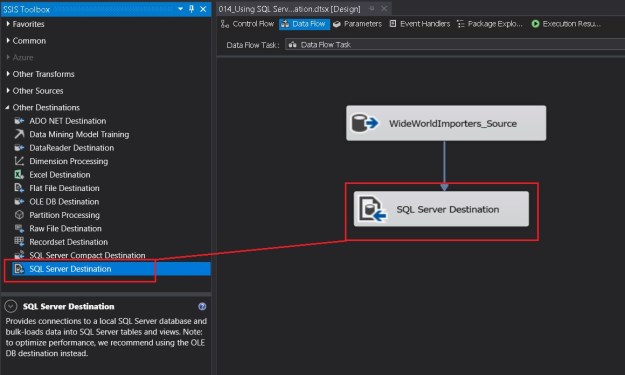
Adding the SQL Server destination to a data flow
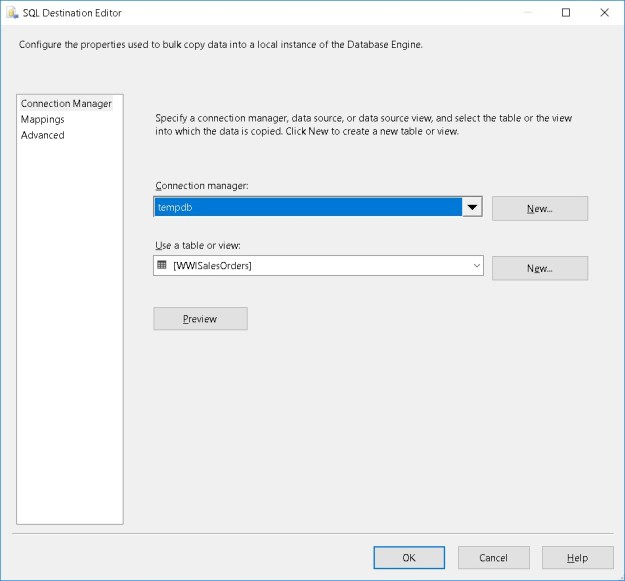
Selecting a connection manager
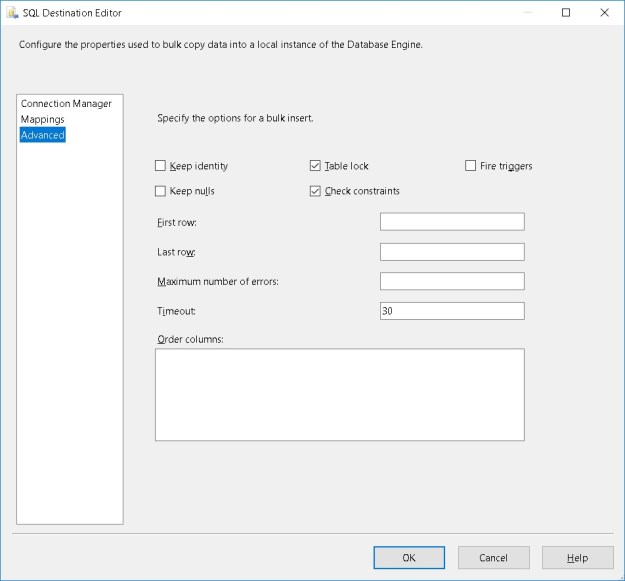
The “Advanced” tab of the SQL Server destination
The Advanced tab (see above) has a host of options to improve the performance and control the behaviour of the bulk inserts made by the SQL Server destination.
- Keep Identity – controls whether to insert values into an identity column
- Keep Nulls – controls whether NULLs should be inserted instead of using the default values defined on the column
- Table Lock – allows to take a higher-level table lock during the bulk insert
- Check Constraints – controls whether constraints should be checked during the insert or not
- Fire Triggers – controls whether or not to fire DML triggers defined on the table
- First Row – specifies the first row to insert. By default all rows are inserted
- Last Row – specifies the last row to insert. By default all rows are inserted
- Maximum number of errors – controls the number of errors before the bulk insert operation stops
- Timeout – controls the bulk insert operation timeout
- Order Columns – Allows a user to specify the sort order on one or more columns
Summary
The SQL Server Destination is recommended instead of the OLE DB destination if the SSIS package is to be executed on the same machine/server where the target Microsoft SQL Server instance is located. Below are the finer points about the SQL Server destination:
- The SSIS package must be executed on the same server where the Microsoft SQL Server instance is located
- The Shared Memory protocol for data exchange is enabled for the instance from the SQL Server Configuration Manager
- Warning: This may need local security policy updates if User Access Control (UAC) is configured
- SQL Server destination
- Only works with OLE DB connection managers (ODBC is not supported)
- Supports only one input
- Does not support an error output
- Performs bulk insert of data
- Allows leveraging of fast load options of the OLE DB connection
Further Reading
- SQL Server Destination [MSDN Link]
- OLE DB Destination – Table Fast Load options
Until we meet next time,
Be courteous. Drive responsibly.